What to Know Before Getting a Helix Piercing
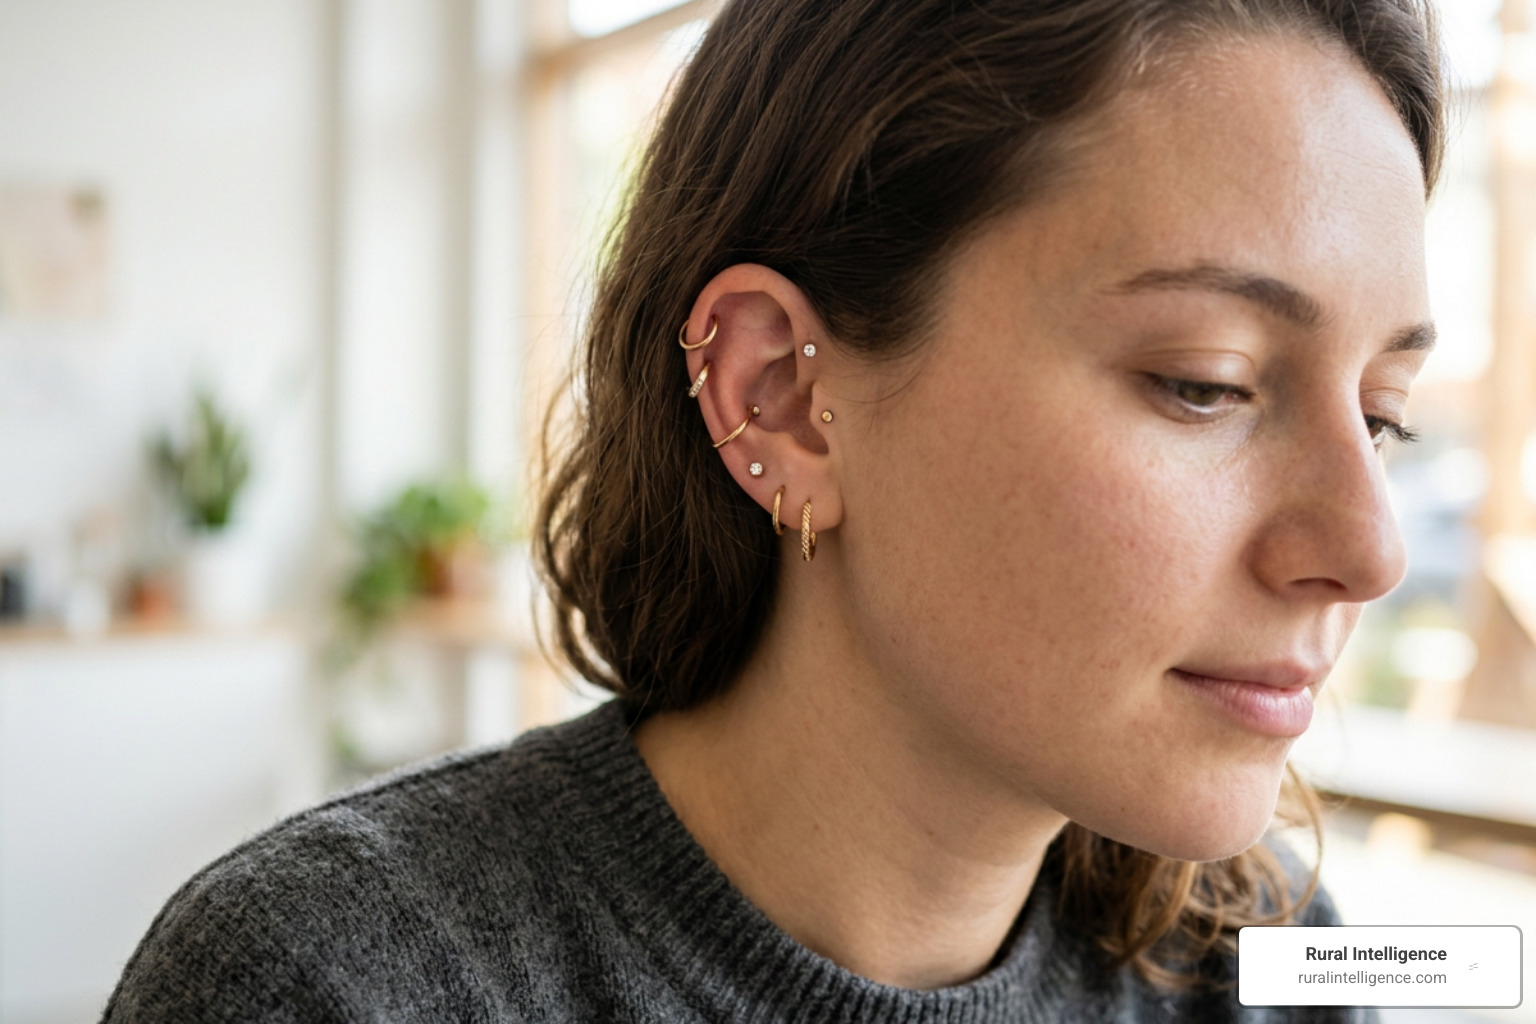
A helix piercing goes through the firm cartilage along the upper outer rim of the ear. It is a popular choice for a simple stud, a hoop, or a layered ear stack. Expect a quick, sharper pinch than a lobe piercing, followed by some swelling or tenderness. The bigger commitment is healing: most helix piercings need 6 to 12 months to fully settle.
For the smoothest experience:
- Choose a trained professional who uses a sterile, single-use needle, never a gun.
- Start with a quality flat-back stud in implant-grade titanium or solid 14K gold.
- Clean with sterile saline, avoid touching or twisting the jewelry, and do not sleep directly on that ear.
- Be patient. Cartilage can look healed on the outside long before the inside is ready for a hoop.
Helix piercings offer a small but high-impact way to change your look. They also demand more care than a basic lobe piercing because cartilage has less blood flow and is easily irritated by pressure, hair, headphones and frequent jewelry changes. This guide covers the placement options, pain, healing stages, aftercare, and jewelry choices worth knowing before you book.
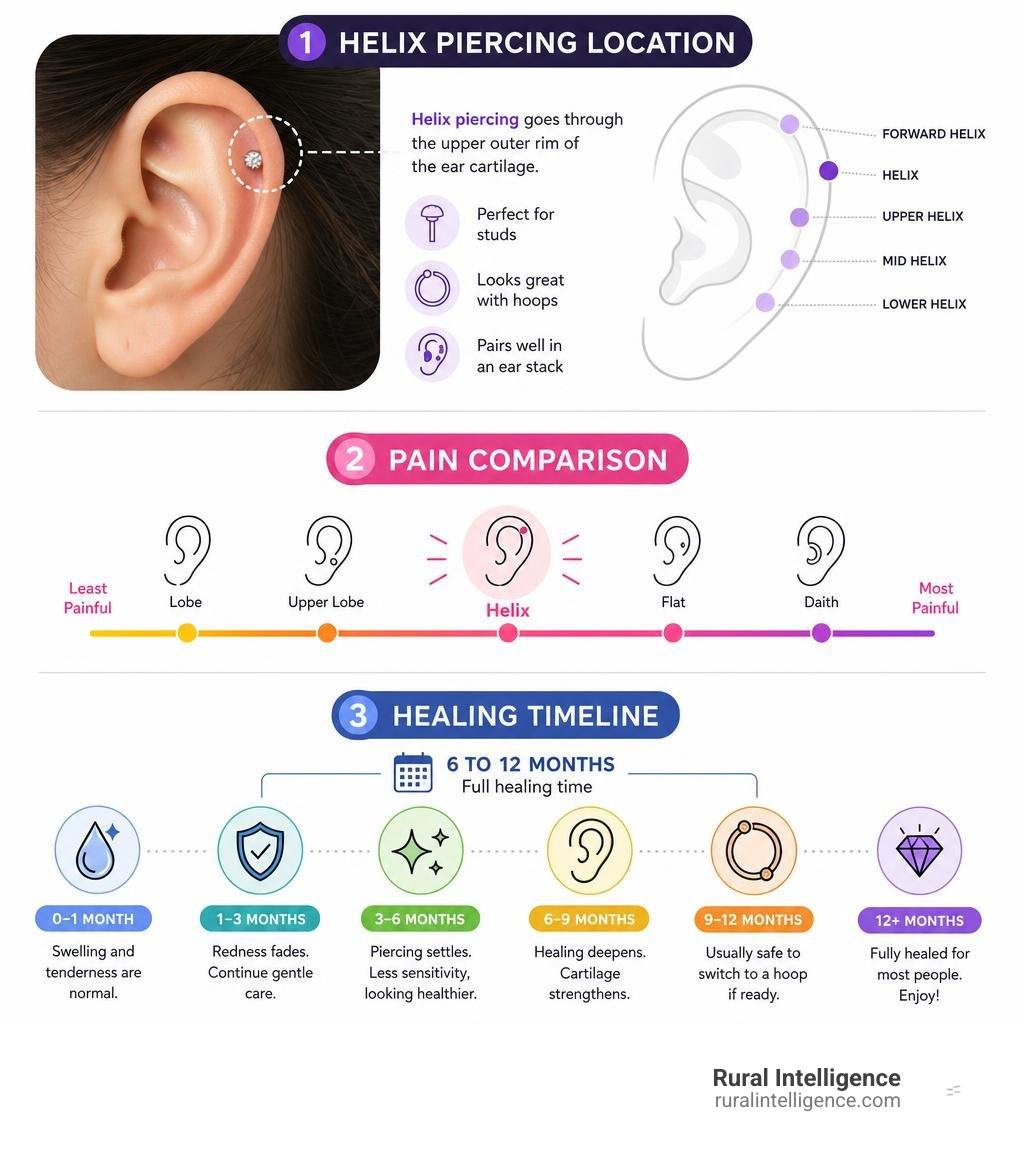
Understanding the Helix Piercing: Anatomy, Placements, and Types
When planning ear styling, the upper ear acts as an open canvas. Modern piercing design leans heavily into architectural curation, balancing open negative space with precise accents. To achieve this balance, it helps to understand how the upper ear is built and explore references like The Ultimate Helix Piercing Guide before making your appointment.
Anatomy of Upper Ear Cartilage
The upper ear is composed of auricular cartilage, a dense, semi-rigid connective tissue covered by a thin layer called the perichondrium. Unlike earlobes, which are fleshy and rich in blood vessels, cartilage is avascular. It does not have a direct internal blood supply. Instead, it relies on the diffusion of oxygen and nutrients from surrounding tissues.
This biological trait explains why cartilage piercings behave differently from lobe piercings. The tissue is firmer, resists swelling differently, and takes significantly longer to repair itself.
Standard, Forward, and Floating Helix Piercing Variations
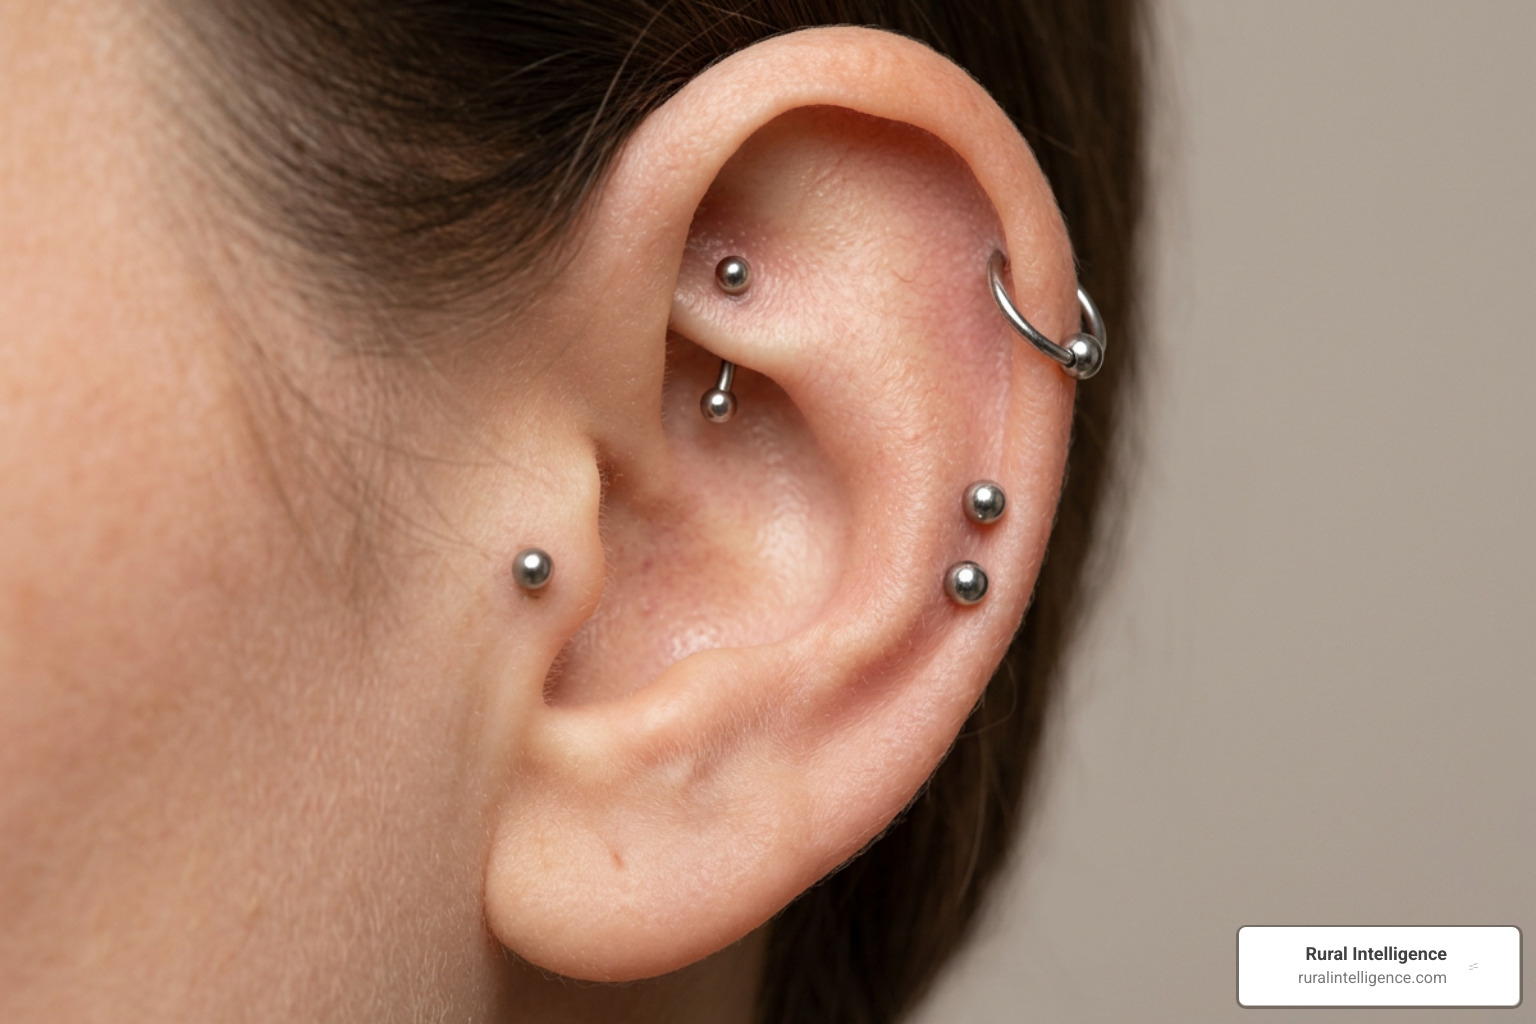
The term "helix" covers multiple placements along the ear's rim:
- Single Helix: The standard placement on the upper outer curve. It works equally well as a subtle standalone accent or as the anchor for future additions.
- Double and Triple Helix: Multiple piercings stacked vertically along the outer rim. Spacing must be measured carefully so the backings do not overlap.
- Forward Helix: Placed on the front curve of the ear cartilage right above the tragus, facing the face. This spot requires snug jewelry and depends on your unique ear fold.
- Mid-Helix (Low Helix): Positioned along the outer rim halfway between the lobe and the upper apex.
- Floating Helix & Hidden Helix: A modern technique where the jewelry is tucked beneath the ear's upper fold, making gemstones or delicate chains appear to float without visible posts.
- Industrial Piercing: A single straight barbell connecting two distinct cartilage punctures across the upper ear.
If you are planning a multi-piercing project, piercers suggest following the "2/3 Rule"—healing no more than two or three cartilage piercings at a time to prevent immune system overload.
Needle vs. Gun: The Procedure and Pain Levels Explained
The method used to perform your piercing sets the foundation for its long-term health. Knowing what happens during the appointment helps ease procedure anxiety.
Why Needles Beat Piercing Guns for Cartilage
Never let anyone pierce your cartilage with a mechanical piercing gun. Piercing guns use spring-loaded blunt force to shove a dull stud through tissue. While soft earlobes can sometimes tolerate this, the blunt impact against rigid cartilage can shatter the underlying structural matrix, leading to severe swelling, persistent hypertrophic scarring, and permanent deformity. Furthermore, plastic piercing guns cannot be sterilized in an autoclave, raising infection risks.
Professional body piercers follow strict Association of Professional Piercers (APP) hygiene guidelines, using single-use, hollow-bore medical needles. A sharp needle cleanly displaces tissue to create a smooth channel (fistula) for the jewelry, allowing faster healing with minimal trauma.
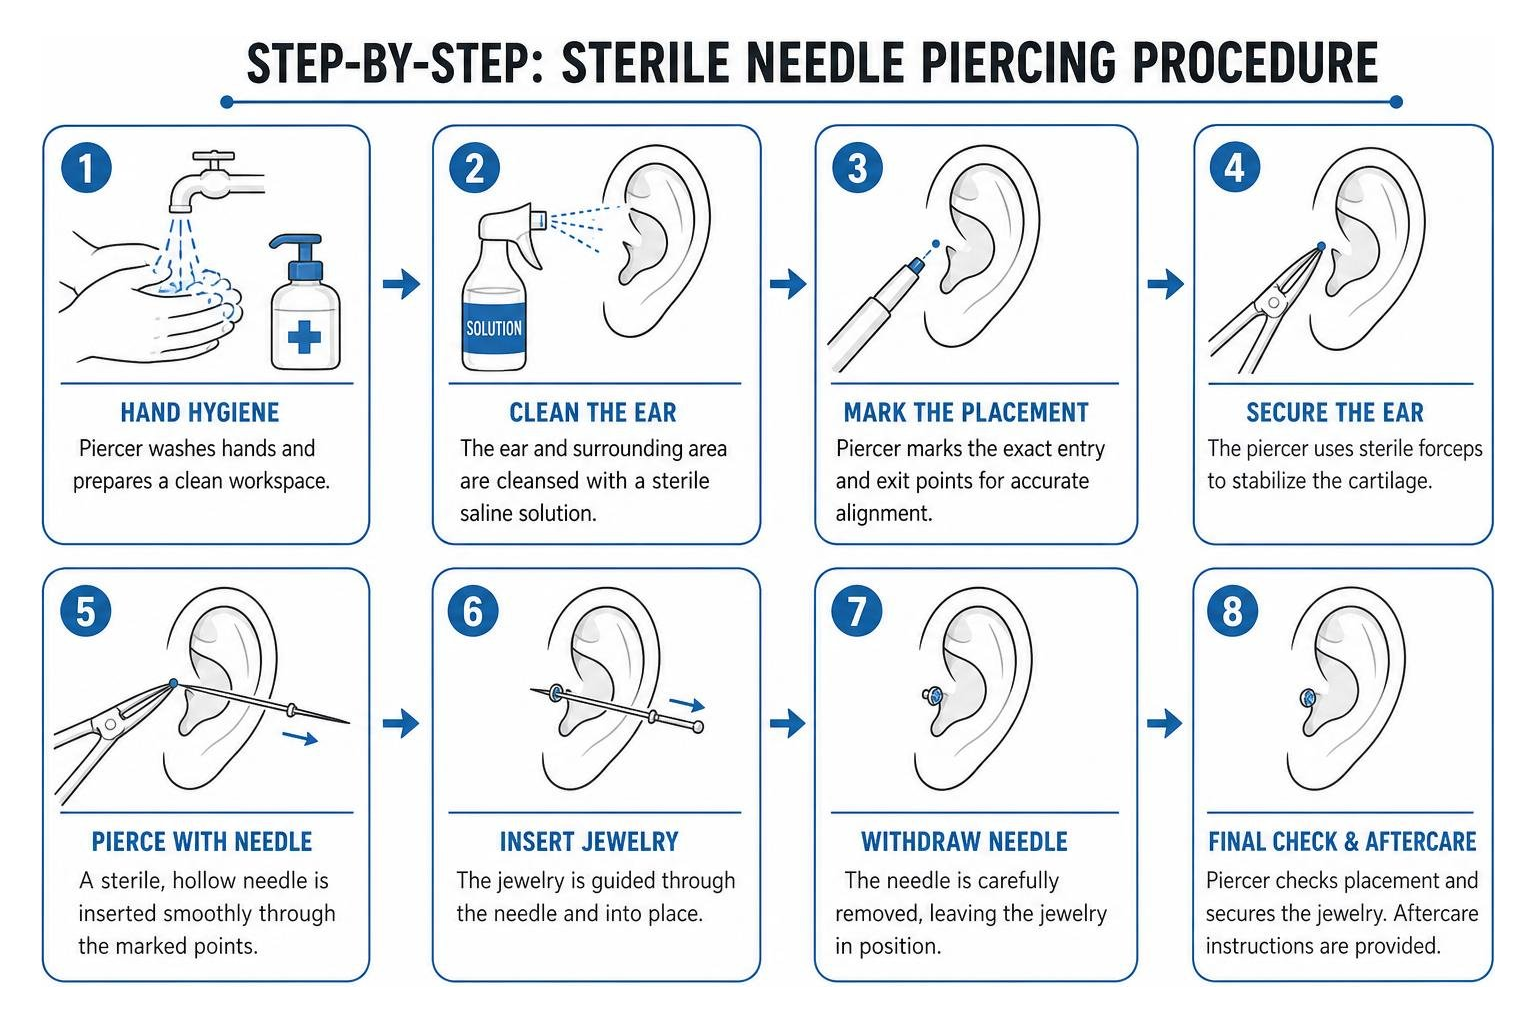
Helix Piercing Pain Scale Compared to Earlobe Piercings
Pain is subjective, but most people rate a single helix piercing at about 4 out of 10 on the pain scale. Because cartilage lacks dense surface pain receptors, the sensation is felt as a brief, intense pinch accompanied by a distinct, audible "crunch" as the needle passes through the firm tissue.
This sharp pinch lasts less than a second, followed by a warm, throbbing ache that settles over the next few hours.
| Piercing Location | Average Pain Rating (1–10) | Sensation Profile |
|---|---|---|
| Traditional Earlobe | 2 / 10 | Quick, mild prick; fades in minutes |
| Standard Helix | 4 / 10 | Sharp pinch and crunch; warm throbbing |
| Conch | 6 / 10 | Deep, heavy pressure in thick cartilage |
| Rook / Daith | 6–7 / 10 | Firm, intense pressure through cartilage folds |
| Industrial Barbell | 7–8 / 10 | Two separate punctures back-to-back |
Helix Healing Timeline and the False Heal Phase
Because cartilage depends on nutrient diffusion, full recovery requires patience. Detailed breakdowns like the Helix Piercing Guide: Types, Pain & Healing | STEPOY highlight that biological healing happens from the outside inward.
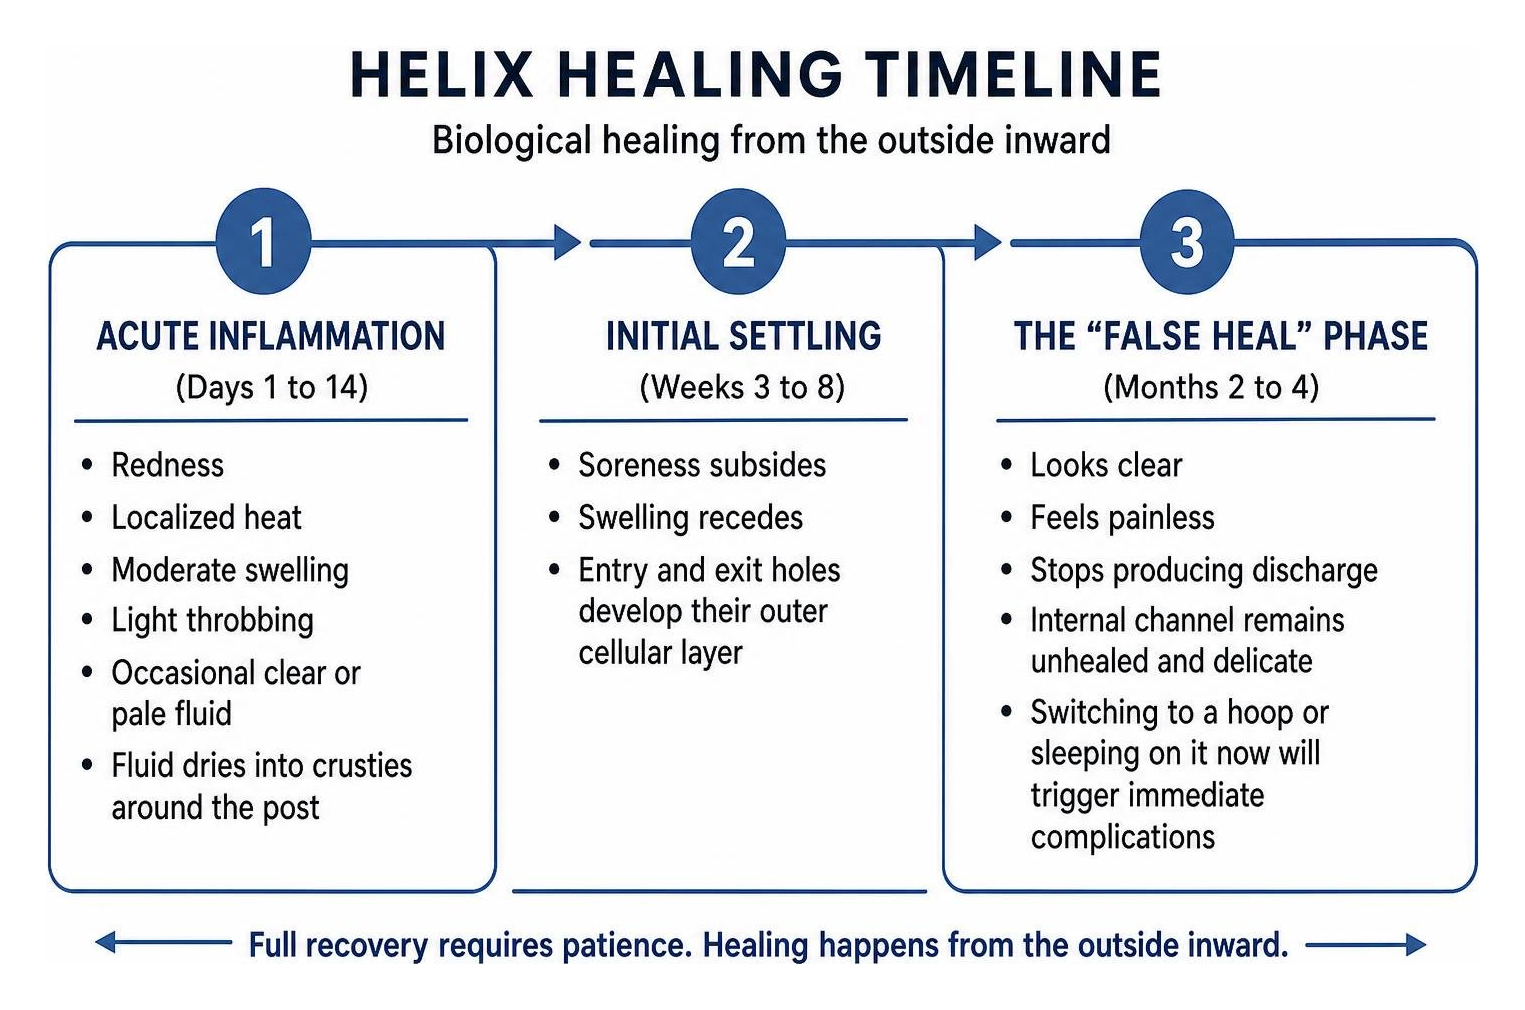
Healing Stages from Day 1 to 12 Months
- Acute Inflammation (Days 1 to 14): Redness, localized heat, moderate swelling, and light throbbing. Occasional clear or pale fluid will dry into crusties around the post.
- Initial Settling (Weeks 3 to 8): Soreness subsides and swelling recedes. The entry and exit holes begin developing their outer cellular layer.
- The "False Heal" Phase (Months 2 to 4): The piercing looks clear, feels painless, and stops producing discharge. However, the internal channel remains unhealed and delicate. Switching to a hoop or sleeping on it now will trigger immediate complications.
- Deep Channel Maturation (Months 6 to 12): The internal fistula fully thickens, strengthens, and seals.
You can confirm full healing when the site shows zero crusting, no tenderness when touched, loose jewelry movement without resistance, and pale, calm skin for at least six consecutive weeks.
Downsizing Posts and Preventing Angle Migration
When you get pierced, your piercer inserts a longer post (usually 8mm to 10mm) to give initial swelling room to expand without embedding into your ear.
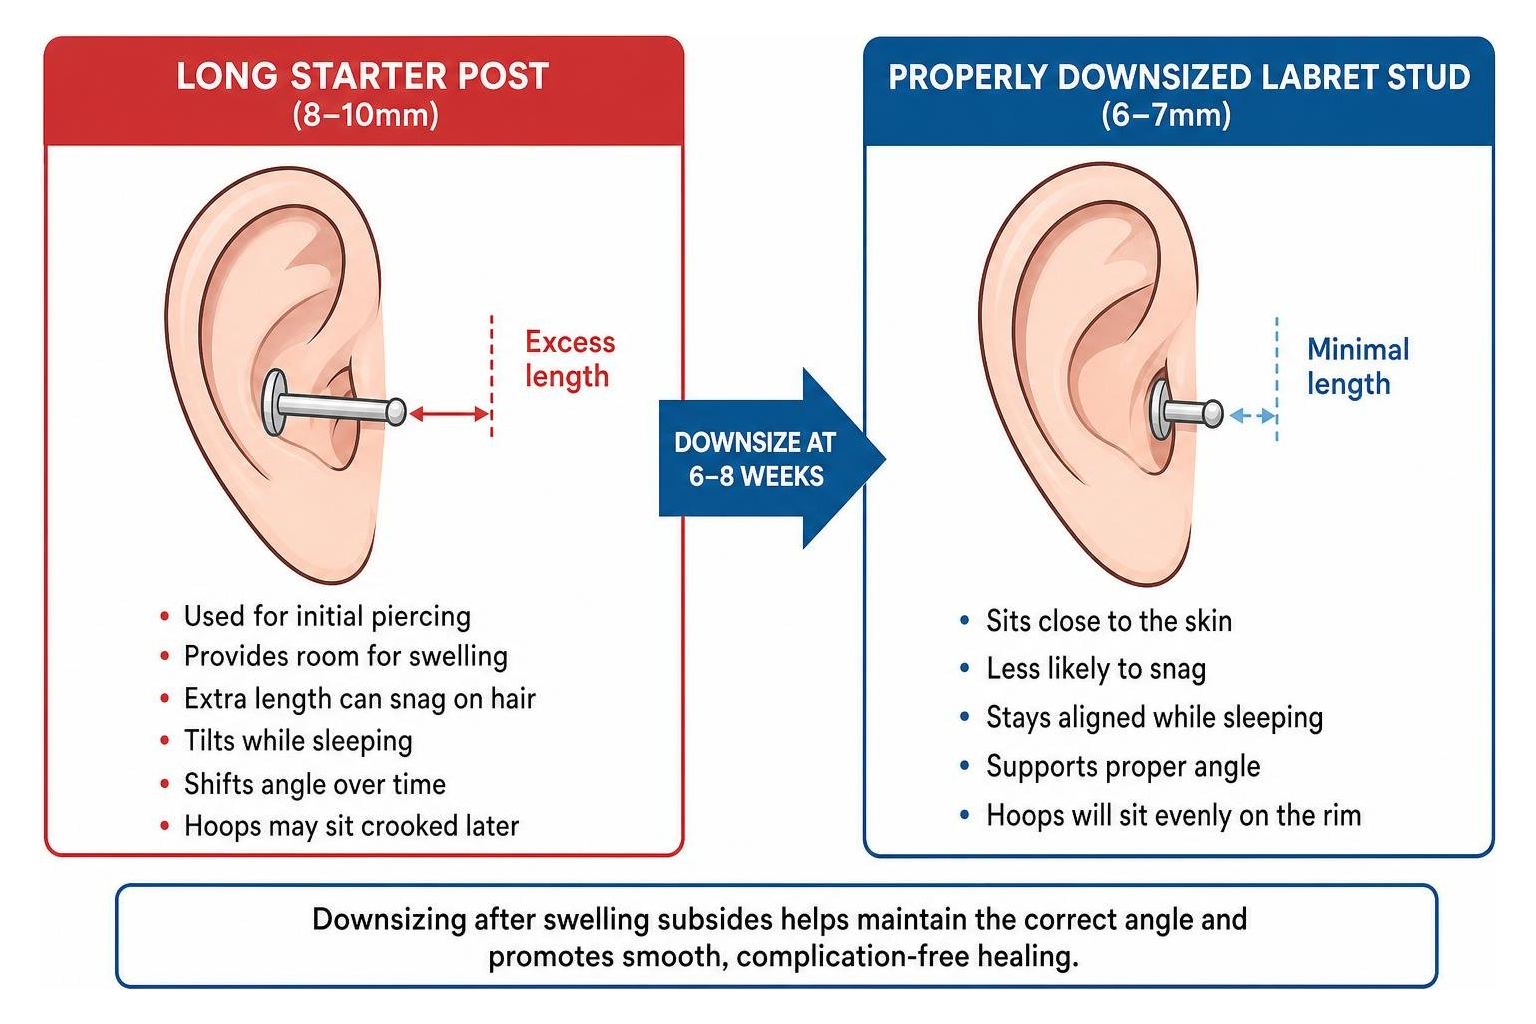
Once swelling subsides at 6 to 8 weeks, you must visit your piercer to downsize to a shorter post (typically 6mm to 7mm). Leaving a long post in place allows the earring to snag on hair and tilt when you sleep. This shifts the healing angle permanently, making future hoops sit crookedly against the rim.
Essential Aftercare, Lifestyle Habits, and Complication Management
Consistent daily aftercare avoids unnecessary complications. The most reliable routine combines simple saline cleaning with the "LITHA" philosophy: Leave It The Heck Alone.
Saline Cleaning Protocol and Sleeping Strategies
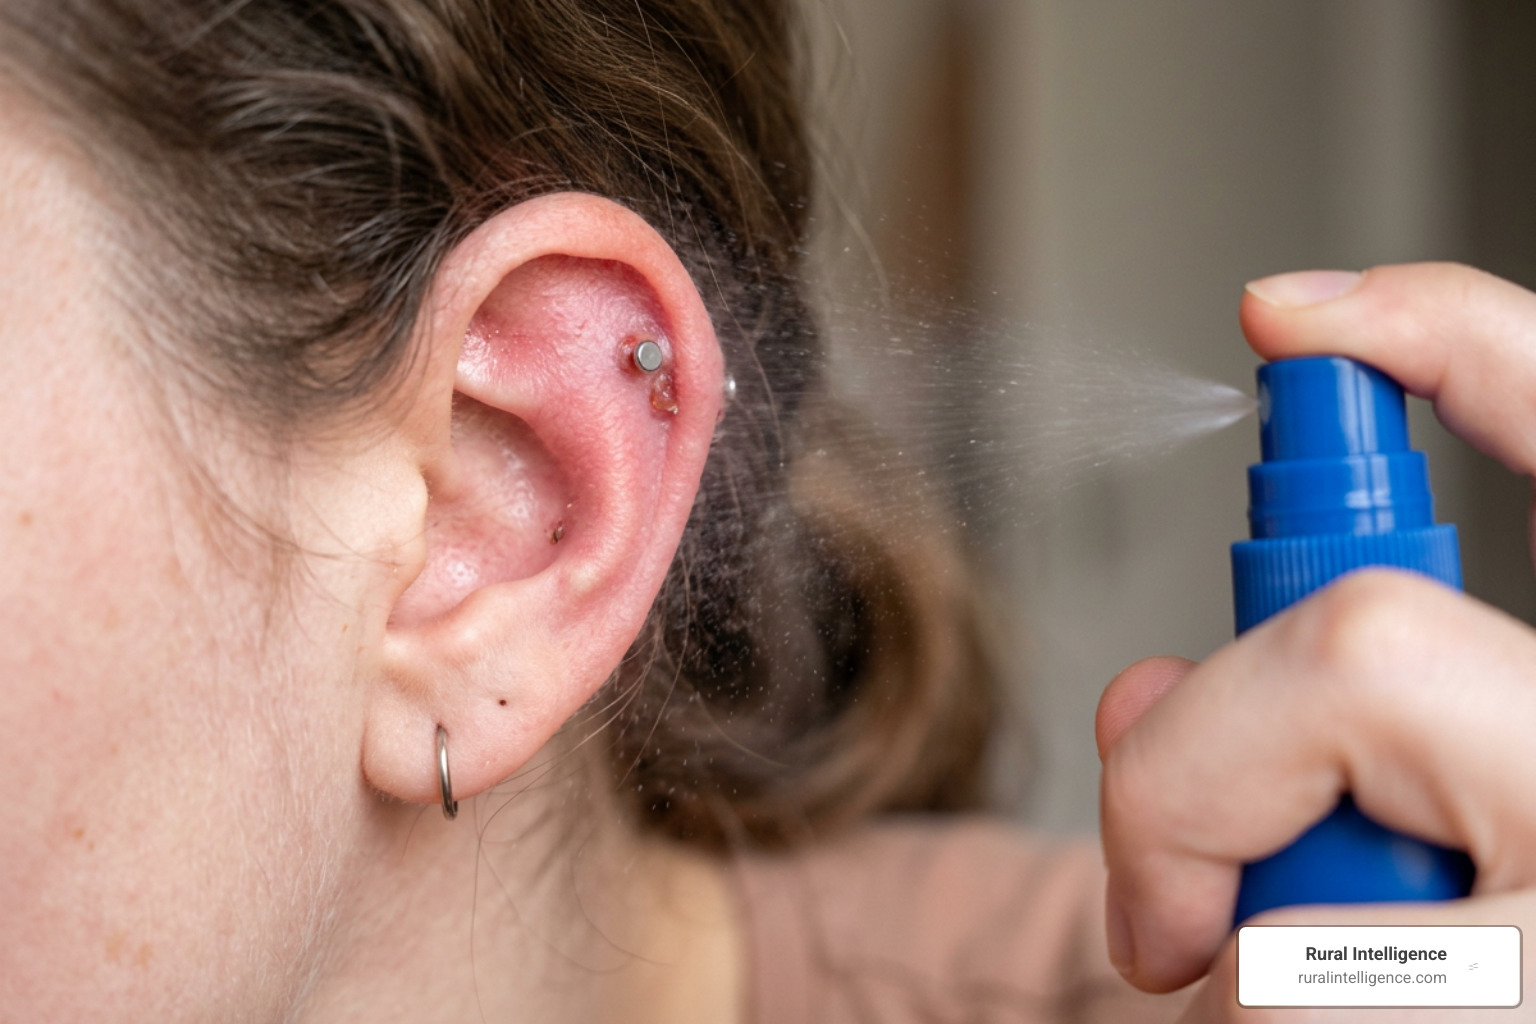
- Clean Twice Daily: Spray the front and back of the piercing with sterile 0.9% sodium chloride saline spray. Avoid homemade salt mixtures, which can be improperly mixed and introduce bacteria.
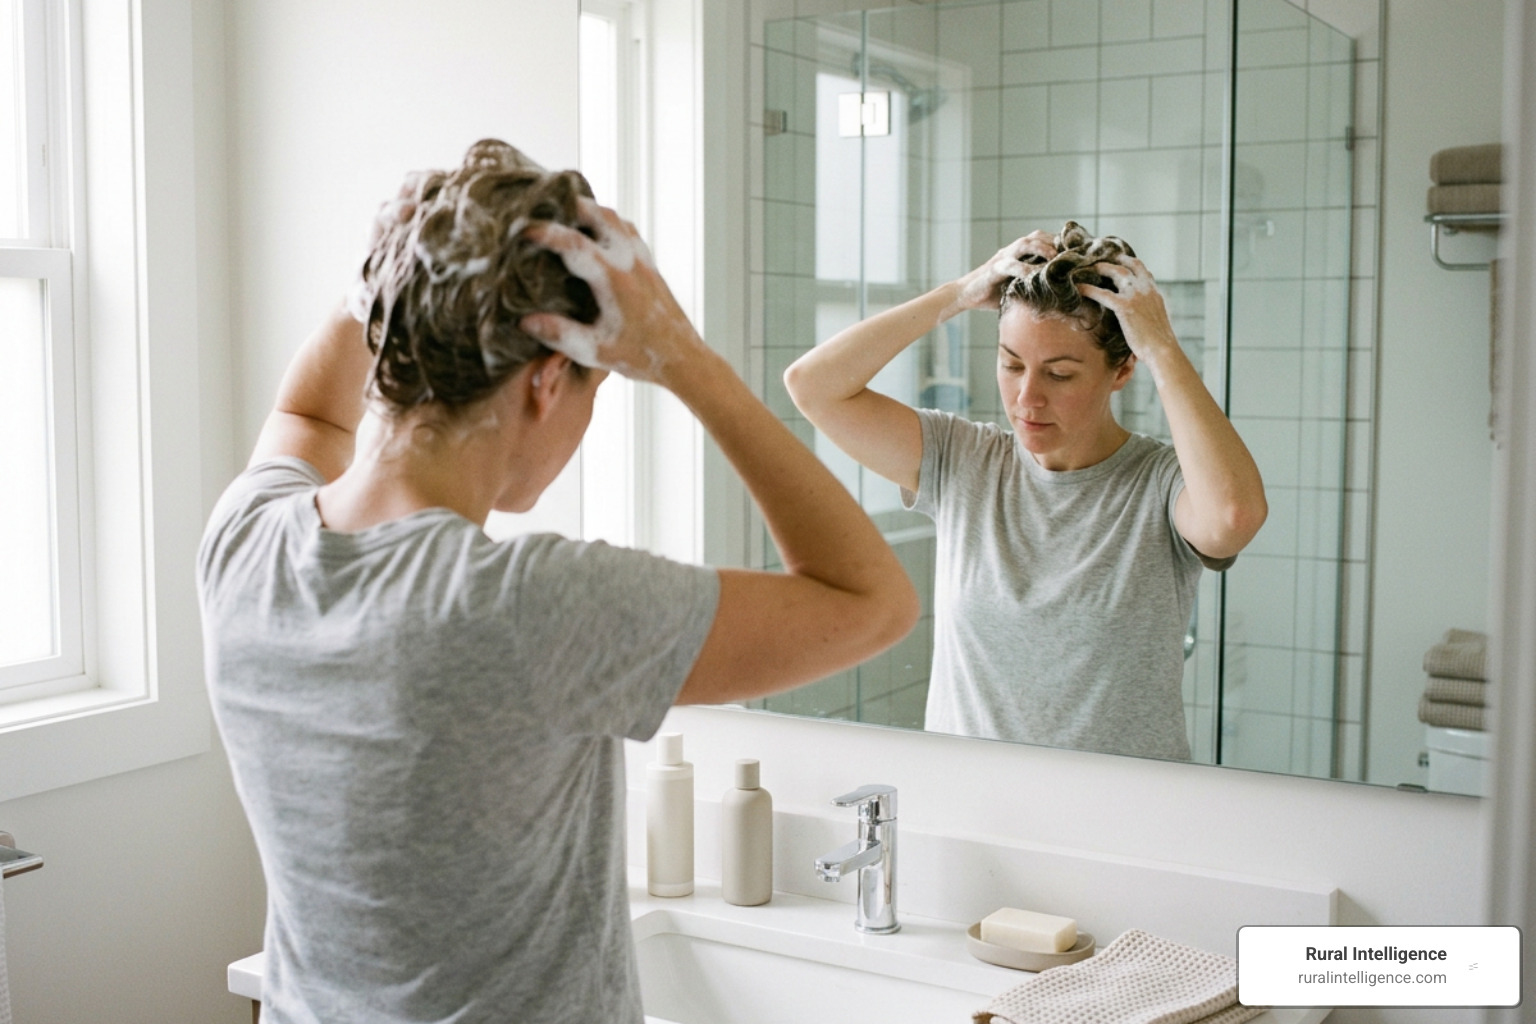
- Dry Thoroughly: Moisture creates an environment for bacteria. After cleaning or showering, gently pat the area dry with non-woven medical gauze or a clean paper towel. You can also use a hairdryer on the low, cool setting. Avoid fluffy cotton swabs whose fibers can catch on prongs.
- Protect Your Sleep: Sleeping directly on a healing helix causes friction and angle migration. If you sleep on your side, buy an open-centered piercing pillow or travel neck pillow, resting your ear right in the opening.
- Manage Snags: Keep hair pinned back away from the ear, be careful pulling shirts over your head, and switch from over-ear headphones to earbuds during early recovery.
Irritation Bumps vs. Infections and Keloids
Almost all bumps on cartilage are minor mechanical reactions rather than true infections or keloids.
Important Safety Note: If you suspect a bacterial infection, never remove your jewelry. Taking the earring out allows the skin to close up, trapping the infection inside the cartilage and risking an abscess. Seek medical care immediately.
Best Jewelry Materials and Sizing for Cartilage
Selecting the correct gauge, diameter, and metal ensures your piercing heals smoothly and remains comfortable for long-term wear.
Starter Studs vs. Transitioning to Hoops
All initial helix piercings should be started with a straight, flat-back labret stud. Threadless (push-pin) or internally threaded posts sit flush against the back of the ear, preventing hair tangles and resting flat against your head.
Curved hoops move, twist, and put uneven pressure on an unhealed piercing channel. Wait until the full 6 to 12 month mark before switching to a ring. When you are ready for a hoop, reviews like the Helix Piercing Hoop: Types, Sizing, Gold vs. Titanium + Styling Tips outline the most popular styles:
- Segment Clickers: Feature a hinged segment that snaps securely shut with a click. They are easy to insert at home and offer a clean, smooth look.
- Seamless Rings: Continuous metal rings that twist open sideways to maintain their circular profile.
- Captive Bead Rings: Held closed by tension against a decorative bead or gemstone.
Most helix piercings use 16 gauge (1.2mm) posts or rings, though delicate designs may use 18 gauge (1.0mm). For hoop diameters, measure the distance from the piercing hole to the edge of your ear rim, double that measurement, and add 1mm to 2mm for comfortable clearance:
- Low to Mid Helix: 6mm to 8mm inner diameter
- Upper Helix Rim: 8mm to 10mm inner diameter
- Forward Helix: 5mm to 6mm inner diameter
Biocompatible Metals: Titanium and 14K Gold
Cartilage is sensitive to metal allergies. Nickel exposure can cause contact dermatitis, leading to chronic redness, itching, and fluid buildup.
- Implant-Grade Titanium (ASTM F-136): The top standard for initial body piercing jewelry. It is completely biocompatible, hypoallergenic, lightweight, and scratch-resistant.
- Solid 14K or 18K Gold: High-purity gold works well for fresh and healed piercings. Avoid gold-plated metals, which can flake off and expose lower-grade base metals.
- Niobium: A dense, elemental metal that is non-reactive and well-tolerated by sensitive skin.
- Surgical Steel (Use Caution): Standard 316L surgical steel often contains 8% to 12% nickel. While some healed ears tolerate it, it should not be used in fresh cartilage.
Frequently Asked Questions About Cartilage Piercings
How long does a helix take to fully heal?
A helix piercing takes 6 to 12 months to achieve full internal tissue maturation. While the outer skin often looks calm within 6 to 8 weeks, the avascular cartilage channel beneath requires up to a full year to completely rebuild its structure.
Can I get pierced with a hoop right away?
No. Initial healing requires a straight flat-back labret stud. Hoops rotate freely, drag crusties through the fresh wound channel, and put curved pressure on the flat hole, which quickly leads to irritation bumps. Wait until your piercer confirms the fistula is fully matured before switching to a hoop.
What should I do if a bump forms on my ear?
First, rule out external pressure. Switch to a travel donut pillow for sleeping, check if your post needs downsizing, and make sure your hair is not catching on the backing. Keep up with your twice-daily sterile saline sprays, dry the area with cool air, and avoid picking at the tissue. Most irritation bumps resolve once the physical friction is removed.
Conclusion
A well-placed helix piercing remains a classic, versatile foundation for personal styling. While cartilage demands steady patience, proper downsize visits, and consistent saline aftercare, the final look makes the journey worthwhile.
At Rural Intelligence, we love celebrating self-expression across every medium, from regional visual art exhibits to the personal craft of body styling. Give your new piercing the time and care it needs, and you will enjoy a comfortable, curated accent for years to come.