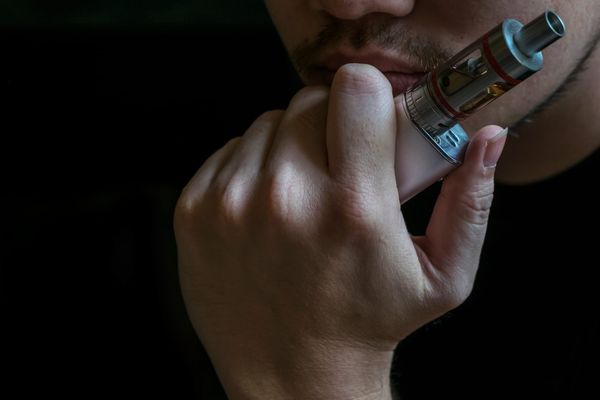
Investing in a new vape kit is the first step for a satisfying experience, but regular care keeps it performing at its best. Daily use exposes your device to residue and dust that can compromise flavour. Establishing cleaning habits prevents common issues like burnt coils or poor vapour production. In this article, you will discover a practical, step-by-step guide to maintaining your new vaping kit effectively.
Clean Connection Threading and Contact Pins Regularly
E-liquid condensation and dust gather around the threading and brass contact pins connecting your tank or pod to the battery housing. Investing in high-performance vaping kits ensures you start with quality threading, but keeping these contact points clean remains essential for steady voltage delivery. Accumulated moisture creates issues that trigger misfires or false warning errors on digital displays.
Perform these quick cleaning steps weekly for optimal electrical conductivity between components:
- Cotton bud wiping: Gently swirling a dry cotton bud inside the 510 connector thread to absorb trapped liquid
- Isopropyl alcohol cleaning: Dabbing a tiny amount of rubbing alcohol on pins to dissolve stubborn grime buildup
- Pin spring checks: Inspecting spring-loaded contact pins to ensure they bounce freely without sticking down
Prime New Atomiser Coils Properly Before Initial Use
Firing a dry coil burns the internal cotton wick, ruining the atomiser before you even take your first puff. Proper coil priming allows e-liquid to saturate the wicking material completely, preventing harsh dry hits. Remember, taking two minutes to prime new coils correctly extends their usable lifespan significantly.
Ensure you drip three drops of e-liquid onto the exposed cotton ports around the side of the new coil. Once installed and filled with liquid, let the device sit undisturbed for five minutes to allow saturation. Taking time to saturate new cotton wicks guarantees smooth, clean vapour right from the very first draw.
Deep Clean Your Vape Tank and Airflow Rings Periodically
Over time, leftover e-liquid builds up inside air intake channels or glass tanks, dulling fresh flavours. Dismantling your tank and giving glass and stainless steel sections a warm water rinse removes old residue. Clean airways restore crisp airflow and ensure new flavour profiles taste exactly as intended. To execute a thorough tank cleaning routine without damaging delicate components, follow these steps:
- O-ring removal care: Detaching rubber seal rings carefully to avoid stretching or tearing them during washing
- Warm water rinsing: Flushing glass sections and metal airflow rings under running warm tap water
- Thorough air drying: Allowing all metal and glass parts to dry completely on paper towels before reassembly
Protect Battery Life and Follow Safe Charging Habits
Rechargeable vape batteries require careful handling to maintain their charge capacity and safe operation. Avoid letting internal batteries drain down to zero per cent before recharging. You need to use the manufacturer-supplied USB cable and avoid leaving devices plugged in unattended overnight.
Plus, inspect external battery wraps for small nicks or exposed metal on removable 18650 or 21700 cells. Replace damaged battery wraps immediately to prevent short circuits against metal device bodies. Following basic battery safety preserves device power delivery and protects your home environment.
Store Devices Upright and Avoid Extreme Temperature Shifts
Storing your vaping kit horizontally allows liquid to pool around airflow vents, increasing messy leaks. Standing your device upright when not in use keeps liquid settled around the coil wick ports where it belongs. Proper upright positioning keeps air channels clear and prevents unexpected flooding.
Additionally, protect your kit from extreme heat or freezing conditions, such as leaving it inside a hot car. Extreme temperatures thin e-liquids rapidly, causing tank leaks and straining electronic circuit boards. Simple storage habits prevent accidental spills and preserve sensitive internal electronic components.
Regular Upkeep Guarantees Long-Term Vaping Satisfaction
Maintaining your vaping kit involves cleaning electrical contact pins, priming new coils properly, washing tanks regularly, practising safe battery charging, and storing hardware upright. Taking a few minutes each week to care for your device prevents leaks, preserves coil longevity, and delivers optimal flavour. Proper maintenance protects your financial investment while ensuring a clean vaping experience with every fill.